If you purchased the bundle file on Etsy or from the website here are your instructions.
When making the set I wanted you to be able to complete the whole thing from start to finish. When making the file I saw that there were no lines to score it so you had to do it by hand and that makes for unevenness so the outline to what needs to be cut out is in black and what needs to be scored is in red.
-With the PNG I was having an issue saving it with the score lines attached to the bouquet sides. So all that needs to be done is move them over with the arrow. Now you have your tabs to bend.-
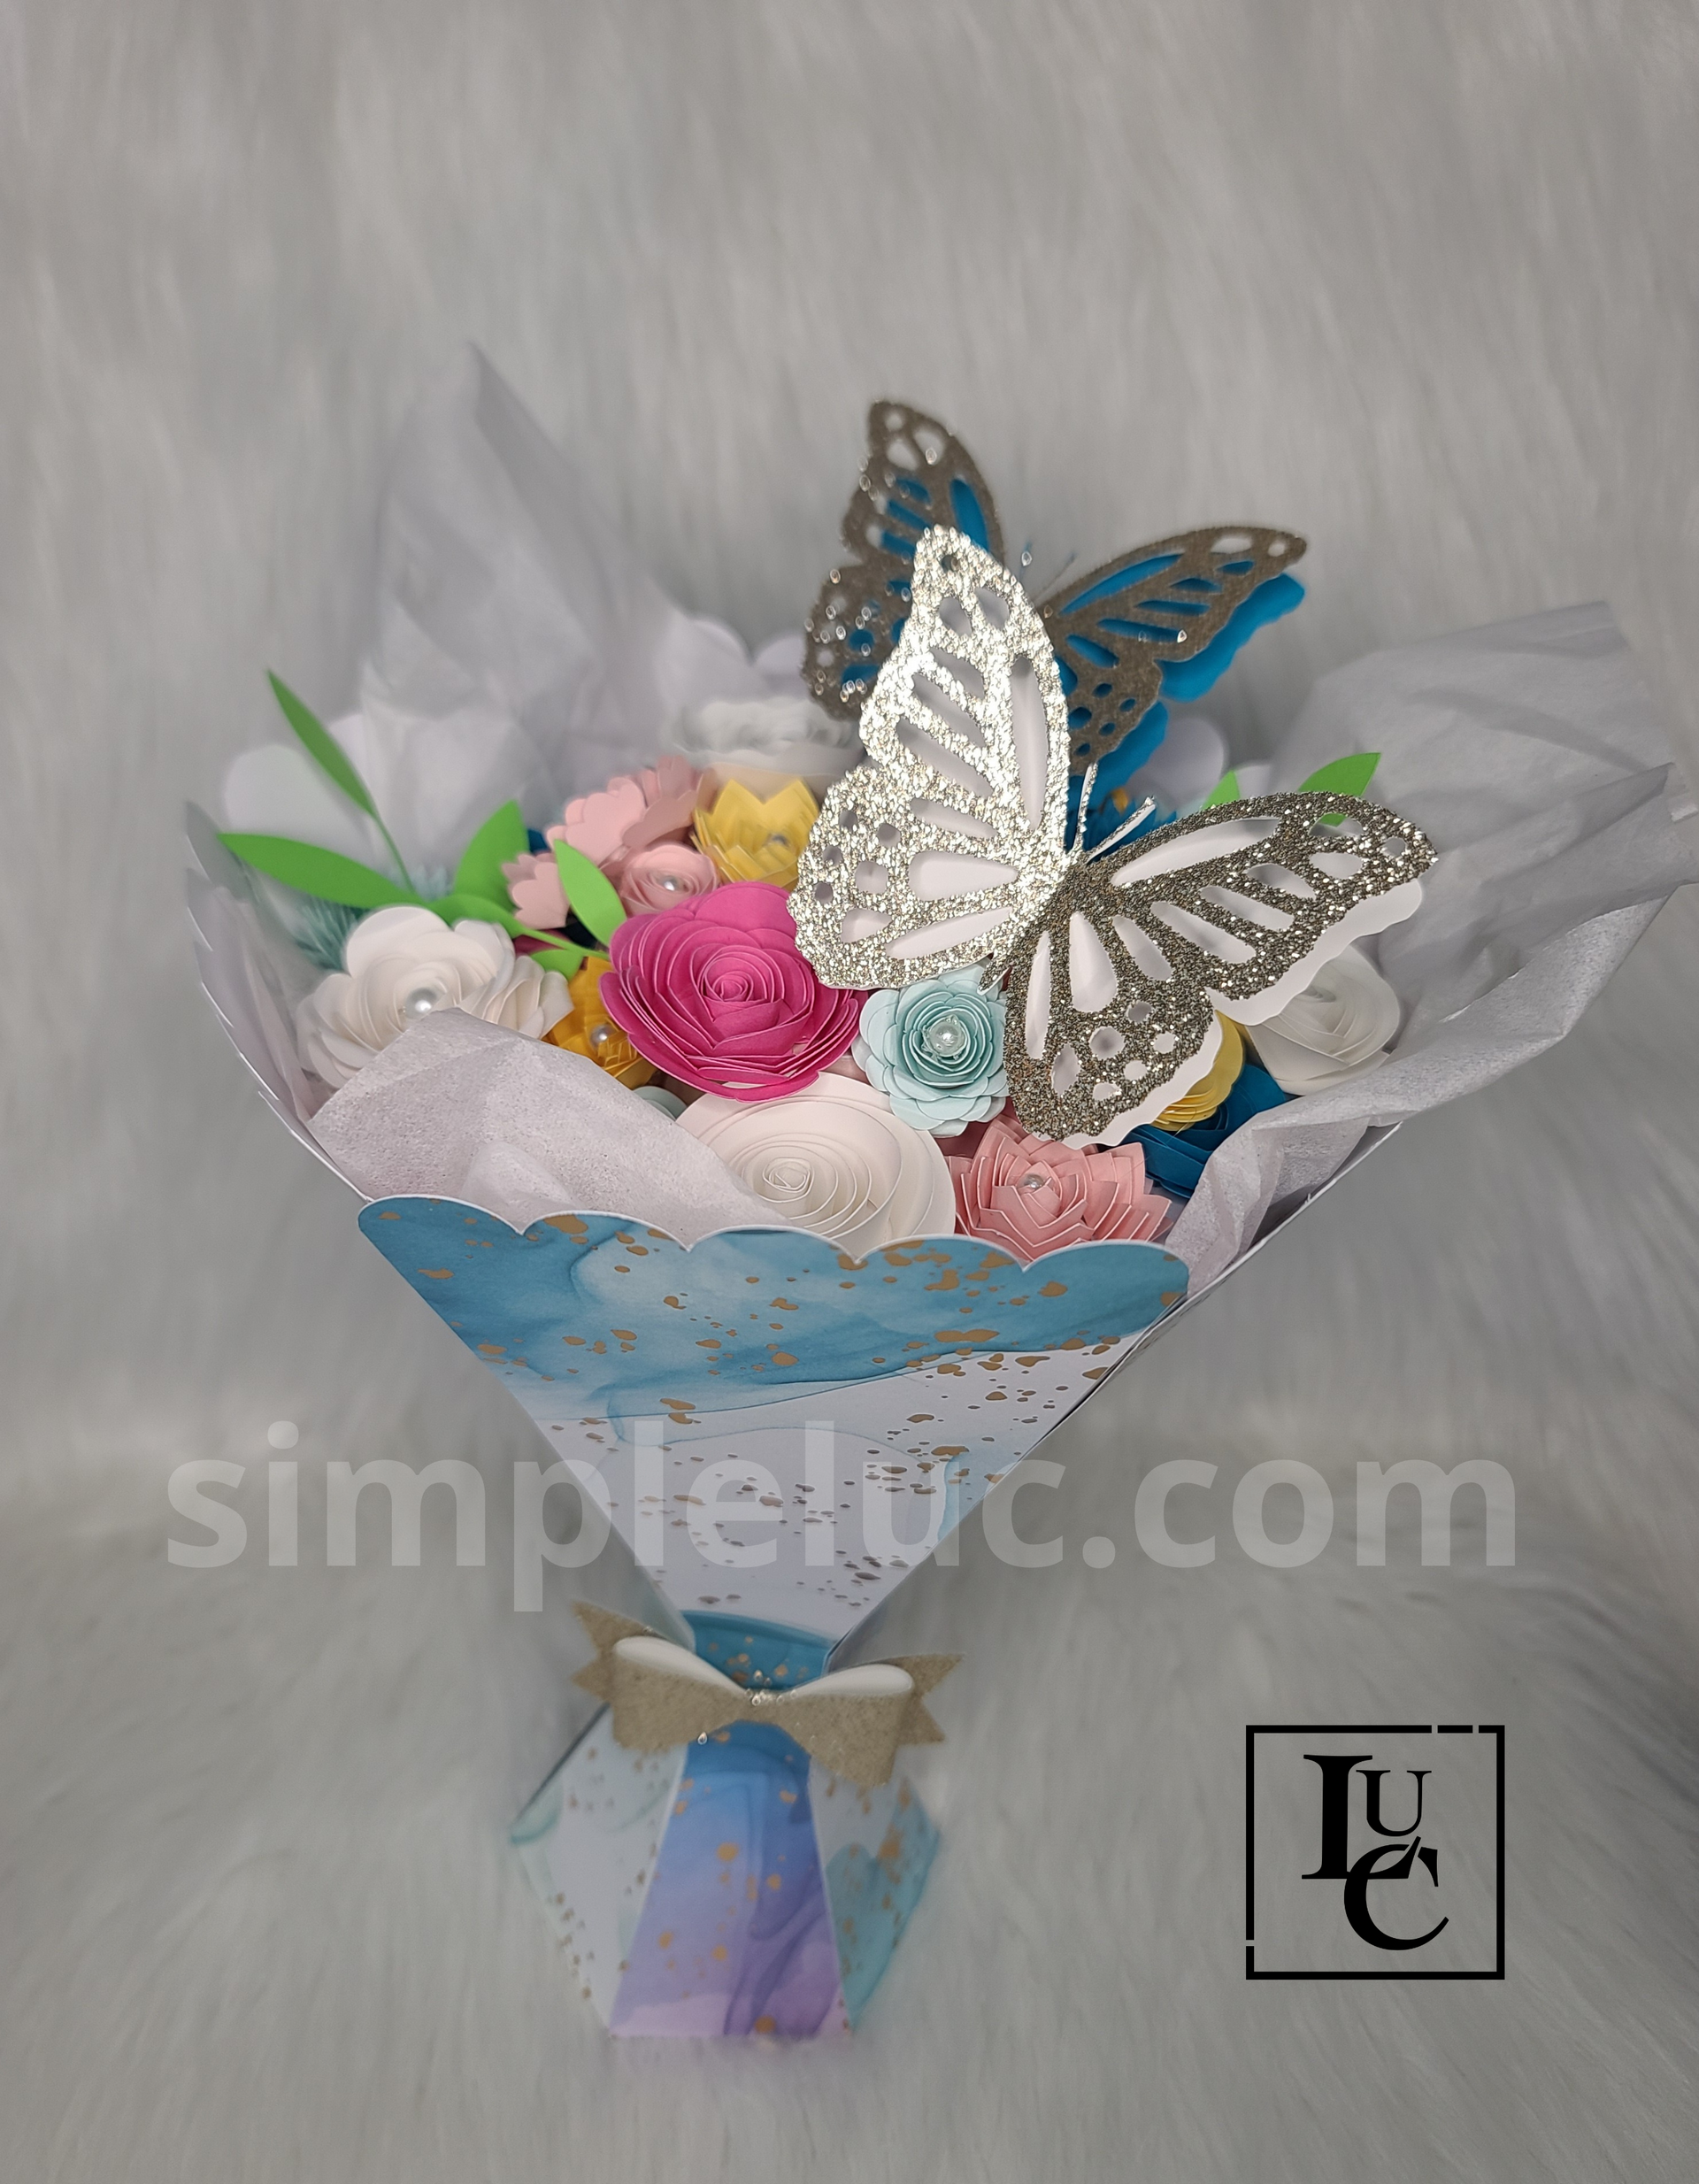
See note below for how to cut different depth of cuts at the same time. So in the bundle is the bouquet/vase itself, 3 stabilizing shelves, an 2 dome sizes included for added height to the rolled flowers, 9 ribbon template options to give your bouquet a pop of color, we have 10 butterflies to choose from, 20 different rolled flower options, and 13 leaves and branches for an amazing finished look. We also added a few pages for color inspiration.
*I want to note that I work with a silhouette cameo 4. If you have a Cricut or any other cut machine I believe you can use SVG. When I go to cut the outline and score lines, in the send panel, that first navigation bar says simple, line, fill, layer. Click line and now you can cut per color lines different depths of force my settings for the outline is cardstock textured heavy Pass-2 Blade-6 Force-30 Speed-4. For the red lines/scoring I saved cardstock plain Pass-1 Blade-2 Force -14 Speed-4
Here is how I put the vase/bouquet together. So let's dive in...
What is Needed:
Cutting Machine
Glue Gun / Double-sided Tape (Tape doesn't hold up after a year)
Hot glue gun if you get the one from Walmart that has the low and high heat you will save so much glue from seeping out of the front let me tell you!!!!
Pair of tweezers or quilling tool amazon 5 bucks for a 4 pack
TONS of PATIENCE
Step One: Cutting Bouquet/Vase
-Cutting 6 bouquet sides. Tabs all on the right side. 3 per 12x12 sheet

Step Two: Cutting Stability Bases (Optional cutting dome for flower height.)
- Highlight the large base and line and center and middle them. Don't forget the red lines need to be cut at a lesser force and blade. MEANT FOR SCORING. Do the same with the other two bases. Large base is about 9.5 x 9.5. Small base is 5 x 5. If you want to add some depth to the flowers you can cut the dome. This one needs 6 sides to complete. Large dome is 3 x 2.3 and small dome is 2 x 1.5

Step Three: Cut your flowers between 8x8 to 5x5 to add a mix of size and to fill in empty space.

Step Four: Get a complimenting color of the Bouquet/Vase and Cut the Ribbon and a few butterflies.
-Cut your butterflies glittery! On glitter cardstock I prefer to cut it upside down. (I had a hard time cutting it with the glitter side up.)
Step Five: Cut your leaves, maybe pick different colors; dark/light green or gold.
Step Six: Start Assembling EVERYTHING!! Yay -_- I like to roll the flowers as I'm cutting them, it makes it faster to me than to cut them all and then roll them. Unless I got some binge watching to do Hello Yellowstone!
Anyway
After you get all your flowers rolled and glued. I work on the bouquet/vase. Cutting 6 pieces i tape 2 together 3 times, So I now have 3 pieces of 2. I glue one side and add one piece, we now have 4 pieces all together. Now I glue the tabs of the four pieces and the last piece to finish out the vase. Press to connect the final piece then press its vase closed. Hooray half the battle is over!!!
Now let's get our stability bases ready. Flip your bouquet over and fit one of the smaller bases in the hole. After fitting it in the hole, glue just a little line press until all flaps are secure. I flip it right side up and do the same for the inside with the other small base. BUT I put the base in there right side up. Now when you add the large base/the flower base you now have a gift box if you choose to do so with your bouquet/vase. If you don't want to you can move to the large base/top fold the lines and glue it to the inside of the bouquet.
Next step would be to add the dome to the top so you have height to your flowers so they are not just flat. Now add your flowers, get your butterflies ready and add you a leaf or two.
To finish it off, let's get you that cute bow. I added some options. I think the glittery ribbon holds everything in place. But that's just my opinion. I hot glue here too because it is bent cardstock. I would hate to have that pop open from the tape.
That's it everyone. Again this is my take on how i do the paper flower bouquet or rose bouquet. I hope my post helped.
Let me know if you are having an issue with the PNG file. I tried to have everything run smoothly. I know you can use Inkscape (PNG and SVG) for free and help google Youtube and you will be good to go. I have Silhouette Studio. They offer a free version as well and I have a file type for them as well. I do believe Cricut uses SVG but I'm not sure if you can use their software for free.
Thank you for your purchase of files and any questions, causes or concerns message us any time. hello@simpleluc.com
If you want, we have the bundle on Etsy and on our own website for download.




1 comment
Just made three paper roses for my girlfriend using your tips. Thank you for providing detail and even sharing some trouble shooting tips. I’ll be ordering directly from you for valentine’s cause it took a while for me to do 3 flowers!